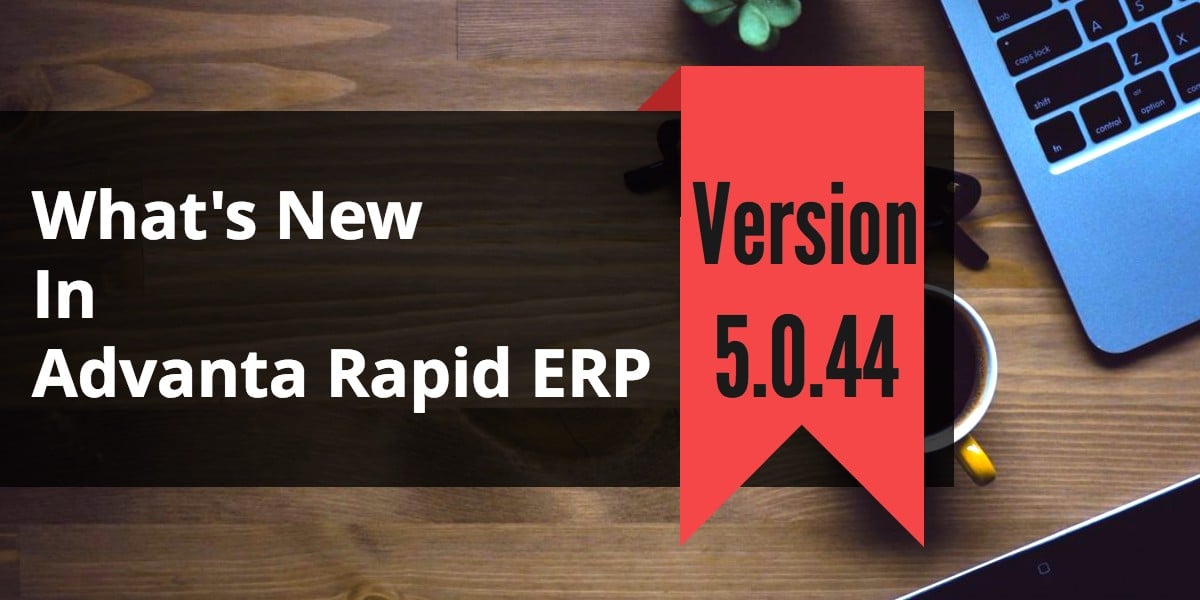
The latest update of School Administration System Advanta Rapid ERP version 5.0.44 is now available online. Please install it in your system and share the feedback.
Overview of School Administration System Advanta Rapid ERP Update
Software Product: School Administration System Advanta Rapid ERP
Release Date: Tuesday, March.15, 2011
Release Time: 10.00 AM
Version: 5.0.44
Below are the details of the latest update of School Administration System Advanta Rapid ERP.
- Send SMS: Now you can avail the feature of Sending SMS by using the utility – Send SMS . You can create your own templates as per your requirements. A default template has been provided for each module. To Create/Edit your own templates Go to > Masters > SMS > SMS Templates. Here you can create different templates for different modules.
Ex.– Fee receipt, Attendance, Exam results, etc.
You can also create more than one template for each module. Those templates, which are marked as ‘default’, are automatically loaded when the ‘Send SMS’ window appears. To Mark/Unmark a template as default Go to > Masters > SMS > SMS Templates > Select the template that you want to mark as default > Edit > Make the changes > Update. One of the templates must be marked as default in each module. Sending SMS in School Administration Software or College Management Software is fully flexible, it’s up to you whether or whom you want to send the SMS. This facility can be operated upon from different places, to use it Go to >- Student Enquiry – > Transactions > Student Enquiry.
- Fee Receipt – > Transactions > Fee Receipt > New or View/Edit.
- Due Fee Slip – > Utilities > Certificates/Letters/Forms > Print others.
- Inventory/Shop – > Transactions > Inventory/Shop > New or View/Edit.
- Attendance – > Tools > Control Panel > Attendance Schedule > Here, create the schedule for sending SMS. The SMS will be sent automatically as per the schedule created.
- Exam Results– > Academic > Examination Marks Explorer.
- Issue Books – > Transactions > Library > Issue Books (Only for students).
- Return Books – > Transactions > Library > Return Books (Only for students).
- Salary Payment – > Transactions > Payroll > Salary Processing > Generate.
- Early Going Students – > Transactions > Front Office > Early Going Students.
- Others – General templates are defined here, they can be loaded and sent from any of the above-mentioned modules.
*Note: SMS will be sent only to those students whose valid mobile numbers are mentioned.
- New Admission Form: We have introduced a new ‘Admission Form’ with enhanced features. You can configure all the features from the configuration window for your Admission form. To configure Go To > Tools > Control Panel > Easy Wizard > Admission > Click on ‘Configure’ > Here you can select all the options, that you want to use, to ‘Yes’ and mark others as ‘No’. After making your selections Click on Ok > Click Next till the Finish button comes into view > Click Finish.
- Fee Account Posting: Each organization has its own requirements regarding the Posting of accounts. For this purpose, we have introduced the concept of Fee Account Posting. This feature is being provided as the flexibility to post the fee accounts. To draw on this feature Go to > Tools > Control Panel > Easy Wizard > Fees > Mark the option ‘Fee Posting Later’ as Y/N according to the requirement > Click Next till the Finish button comes into view > Click Finish.
- If the option ‘Fee Posting Later’ is marked as ‘No’, then the Fee Accounts will be posted automatically after the fees have been received.
- If the option ‘Fee Posting Later’ is marked as ‘Yes’, then you can Post the Fee accounts of all the students at once, at any available time. To make use of it Go to > Utilities > Fees > Fees Posting > Enter the ‘From & To Date’ > Click Ok to post the accounts.
*Note: Fees Accounts need to be posted again, in case any changes are made in the Fee receipt.
- Library I-Card: Now Library I-Cards can be issued to the members of the library. To Issue I-Cards, Go to > Utilities > Library > Print I-Cards. Available only where Separate student/staff Master data is being used for the library.
- Transportation: A new Utility has been added for Transportation i.e. you can change the transportation Pickup Point, Pickup Station, Pickup Type, etc. according to the requirements as and when needed. To avail this utility Go To > Utilities > Fees > Edit Student Transportation > Here you can make the required amendments > Click on ‘Modify Transportation’. You can also edit the transportation of multiple students in one go. *Note: Transportation for those due-dates cannot be changed whose receipt has been generated.
- SMS Window Configuration: Now you can configure the ‘Send-SMS Window’ according to your requirements. To use this Go To > Tools > Control Panel > SMS Settings > Here you can select the option Yes/No according to your requirements for the respective modules mentioned i.e. if you do not want that the SMS window should pop-up then you can set the option to ‘No’ else you can set the option to ‘Yes’. After making the required amendments, Click on Ok to save the changes.
- Added a new search criteria-‘Concession Type’, in ‘Fee Head Wise Concession’ report.
- Printing of Certificates/Templates: Now you can locate the Student details before/after the template in the printing of ‘Certificates/Templates’. To use this feature Go to > Masters > Front Office > Certificate Template > Click New/Edit > Mark the option ‘Show student details at the top in printing’ asY/N > Click Save/Update.
Please feel free to contact us for more information School Administration System Advanta Rapid ERP.

Leave A Comment